
Appearance clips from the product photo you can inspect
Electronics Product Video Maker
The electronics product video maker creates a short exterior showcase from a photograph. Follow the visible ports, buttons, and casing through the result before downloading. Generated movement does not demonstrate actual performance, a working connection, or a verified screen interface.
Create a gadget showcaseWrite down what is visible on this model
Before generating, list the features you can see in the source. For a headphone case, that might be one front indicator, a lid seam, and a charging opening on the photographed side. Keep the note literal. The appearance of an opening does not establish its supported charging rate or connection protocol.
For a keyboard, record the photographed layout and any visible controls. Repeated keys can look plausible even when their count or spacing changes. A quick glance at the overall rectangle is not enough to verify the product.
The electronics product video maker should begin with a reference you can audit. Keep the original image and the intended SKU together so another person can compare the candidate without guessing which model is shown.
Starting image
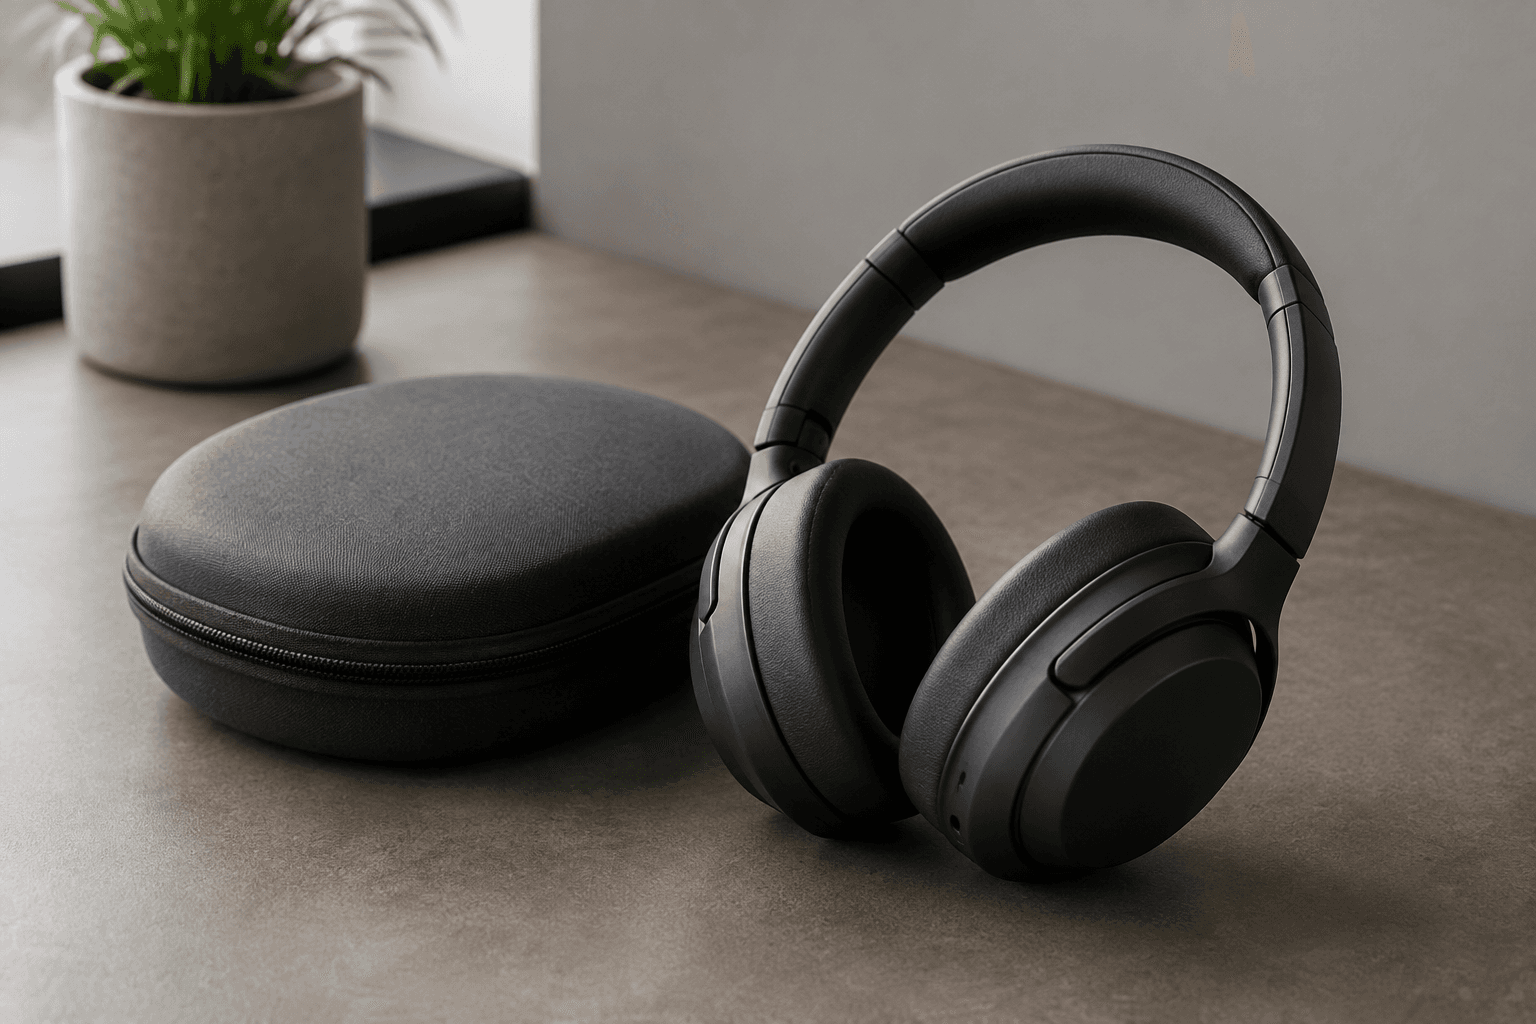
Generated clip
Build a compact appearance record
Use this record to decide what a short exterior shot needs to preserve. Replace the examples with the details in your own product photo. These checks concern visible appearance; verified specifications and operating evidence belong in separate product records.
| Area | Record from the source | Check in generated frames |
|---|---|---|
| Ports | Number, shape, and position of visible openings | No added opening, merged edge, or moved connector |
| Buttons and keys | Visible count, grouping, and spacing | Controls remain attached to the same surface and do not multiply |
| Screen or indicator | What is actually visible in the photograph | No invented interface, battery reading, notification, or connection state |
| Casing | Outline, seams, hinges, and attached parts | Edges retain their relationship and the housing stays plausible |
| Printed marks | Readable logo, model text, and other visible markings | No changed letters or new certification symbol |
Choose an angle that keeps the required side visible
A front view with a clean outline can support a short camera approach. If the important connector is on the back, start with a photograph of the back. Asking the electronics product video maker to rotate a front-only image introduces an unpictured panel that you cannot check against the input.
Leave the whole relevant object inside the source crop. Keep headphones clear of a dark background where the headband disappears, and avoid cutting off a keyboard corner when the layout matters. A closer crop should reveal a needed detail, not remove the reference points that locate it.
Look for reflections that hide seams or ports. A bright stripe across a glossy case may make the surface look polished while concealing its edge. Choose another exposure or source photograph if you cannot identify the part before motion starts.
Prepare the source ratio for the destination. The electronics product video maker's image-based output follows that ratio. A wide keyboard can be difficult to show in a narrow vertical crop; decide whether a landscape listing clip or a carefully chosen detail view is the clearer option.
Create a gadget showcase
The video aspect ratio follows your image.
Advanced options · Optional end frame
Sign up for 40 free credits—enough for a 5-second video at 768P.
Use the electronics product video maker for an exterior view
Upload the prepared product photo in Product Agent / Single. This workflow prepares its prompt automatically. Choose 5–15 seconds and either 480P or 768P. Check the displayed credit amount before submitting.
Begin with a short candidate that keeps the photographed face readable. Watch it at normal speed, then pause around the smallest required detail. A new frame can change a connector or a key even when the rest of the case looks stable.
For a specific camera instruction, use Image to Video. Request a movement around the visible surface rather than an operating action. Product Agent does not provide a hand-written prompt field, and mentioning a model number does not make an unseen feature accurate.
Starting image
Generated clip
Give screens and small text a separate decision
If a display is essential to the demonstration, use an actual recording or accurate screen capture in your final edit. A generated screen can invent an interface or change a value. Generated screen content cannot prove that a device connected, completed a task, or reached a particular result.
A dark screen can still change during motion. Watch for a new icon, a glowing indicator, or a reflection that resembles interface content. Keep the shot focused on the exterior if that is what the source supports. Avoid adding explanatory copy that turns an ambiguous light into a functional claim.
For readable branding, compare the actual letters and symbols. A mark can remain in roughly the same place while changing its wording. Keep an accurate still for information the buyer needs to read. Higher output resolution does not correct text that generation has altered.
Detail images have their own purpose in product photography. The GS1 product image specification distinguishes product details from other image types. Use a dedicated detail photograph when a wide exterior shot cannot clearly show a connector or control.
Several models need several appearance reviews
After checking a representative product in the electronics product video maker, use Product Agent / Batch for several source images with shared settings. Each input produces a separate video. It does not combine the devices into a finished collection video or match them to your catalog automatically.
Name the source by model and view
Keep the photographed SKU, color, and side in the filename or asset note. A front image of one case should not be mistaken for a similar model with a different port arrangement.
Keep shared settings visible
Record the duration and resolution selected for the batch. Those settings provide a consistent starting point, but they do not guarantee matching camera movement or equal detail quality in every result.
Review each result independently
Count the relevant openings and controls on every model. A successful headphone clip does not validate a keyboard with repeated keys or a glossy case with small text.
Preserve the accepted file and its source
Store the final candidate beside the input and note any trimmed section. That keeps a later editor from using a rejected version or attaching the clip to another model.
Finish the listing with verified information
The electronics product video maker creates the exterior footage. Add only supported specifications and recorded demonstrations in your editor. A port visible in a clip does not prove transfer speed, and a generated moving part does not establish durability or operating behavior.
For Amazon, follow the listing upload and review workflow. Confirm your account's current entry point and inspect the final exported file. H3 Max does not upload to Seller Central or guarantee approval.
If a hinge or repeated key pattern changes, read the distortion guide before another attempt. Another attempt creates a new candidate with a new generation cost; it does not repair an already downloaded video.