
Before you upload · Source image checks
How to Choose the Best Images for Image to Video
The best images for image to video give the intended motion somewhere to go. Check the whole subject, the edges around it, the details that identify it and the shape of the frame before asking a model to animate the photograph.
Leave room around the parts you need to keep
A tight crop can look strong as a still image while giving a moving shot little room. If the mug handle already touches the edge, a push may remove it from view. If the cap is cropped, the model has no complete opening silhouette to carry forward.
In this first pair, the left panel enlarges and clips the same source only as a display illustration. The right panel shows the complete image. No video was generated from the clipped version. Compare the space around the handle and above the rim, then make that check on your own photograph.
The source pictures on this page are AI-created examples for showing composition problems. For a factual product showcase, upload photographs of your actual item and compare the result with that item. The diagrams teach an inspection method; they do not establish the construction or appearance of a real product.
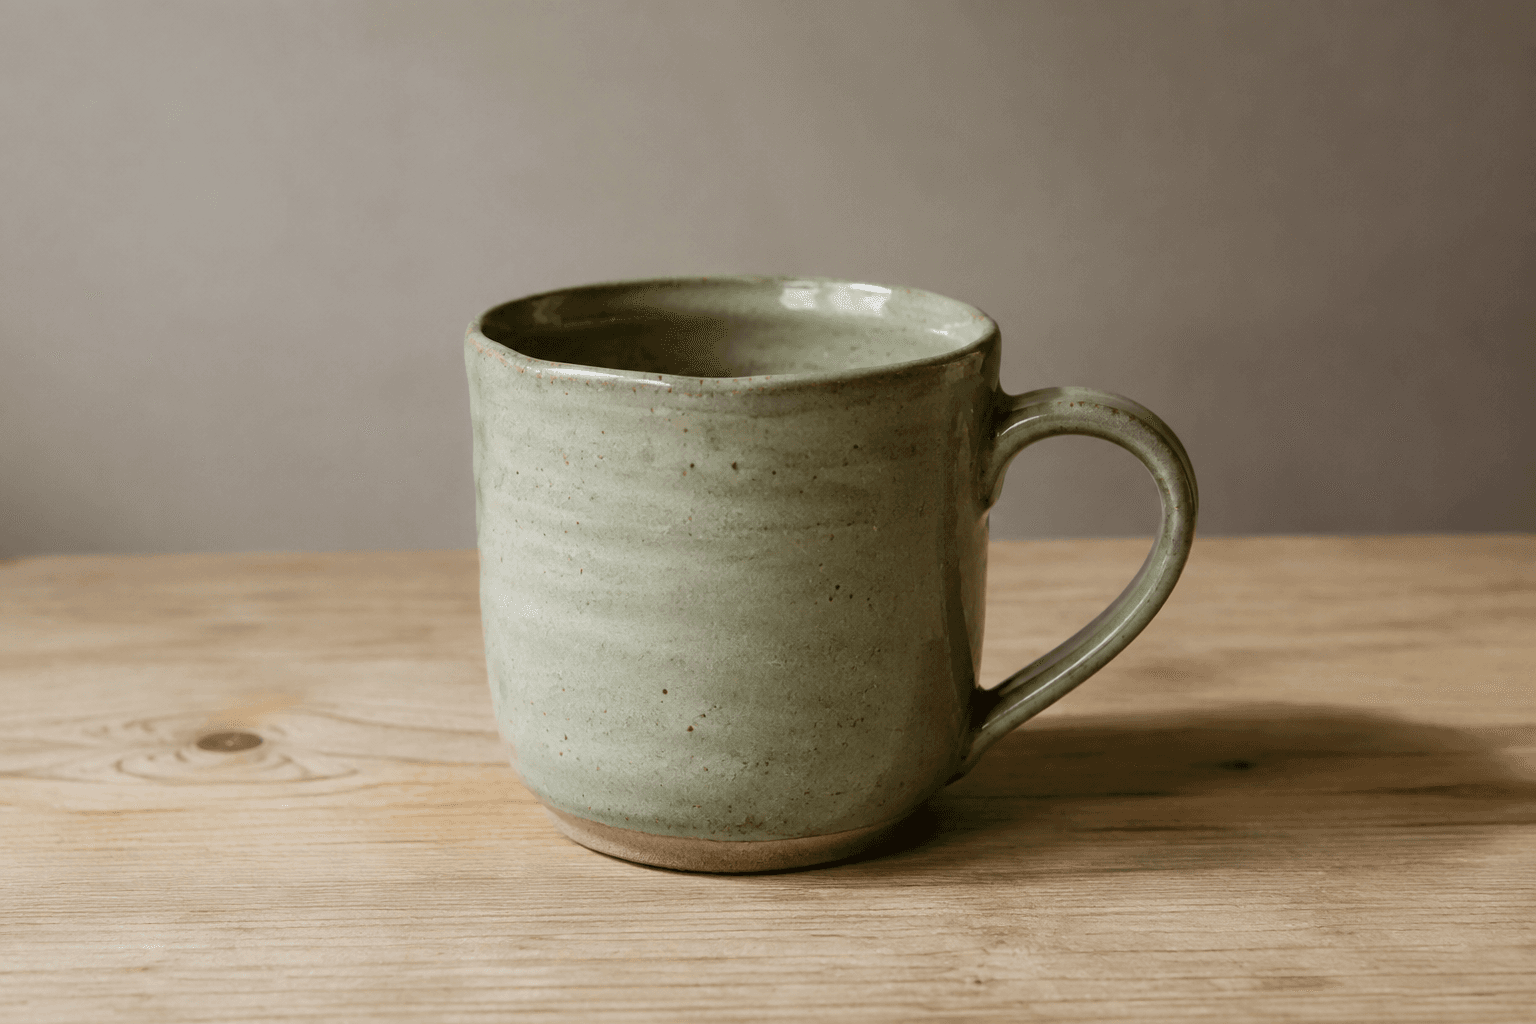
The best images for image to video do not need an arbitrary amount of empty border. They need space appropriate to the shot. A detail insert can intentionally crop the base of a large object, provided that base is not supposed to reappear or explain the product's shape.
Decide whether the subject should stay whole throughout the clip. If yes, prepare the image with that aim and describe a modest movement. If a tight detail is the aim, choose a close photograph whose visible boundaries already make sense.
Separate product edges from competing edges
A chair leg crossing a dark stripe on the floor can be harder to follow than a leg against a plain surface. For transparent or reflective objects, nearby shapes may appear inside the product as reflections. Look for these overlaps at full size rather than judging only the thumbnail.
The overlay below marks the kind of competing line to look for. It is a labeled diagram placed over the source, not a photograph of a cluttered room and not a tested bad input. The unobstructed view shows the floor contact and the chair outline you should preserve.
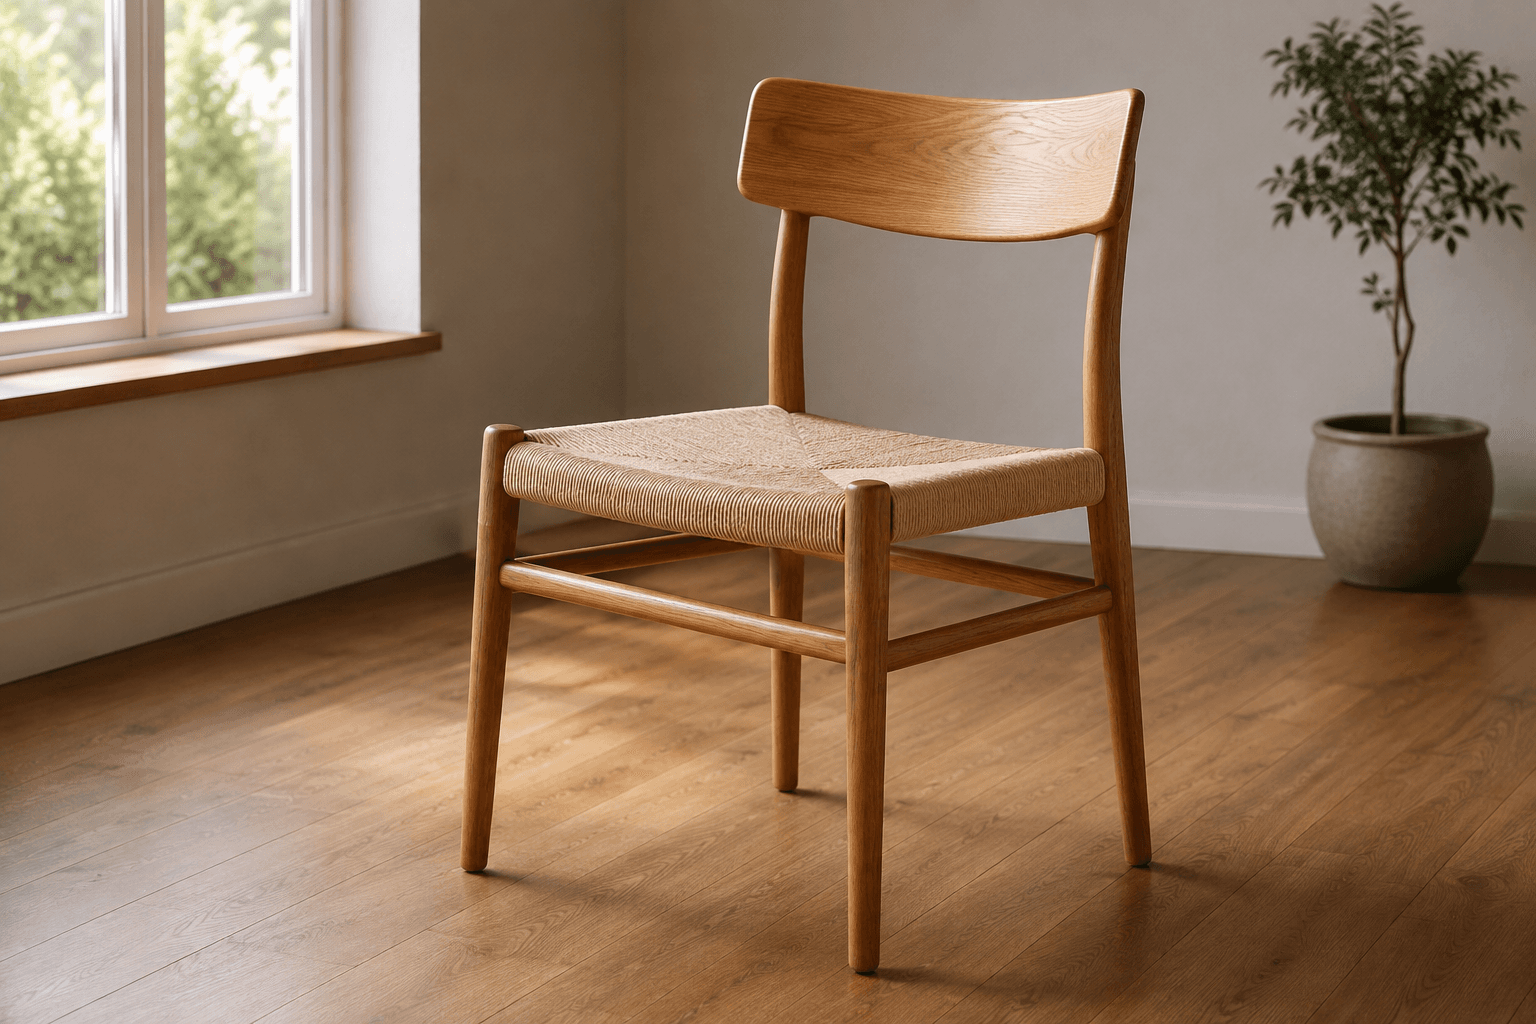
The best images for image to video can be room scenes or studio views. A room provides setting and scale cues; a simpler background makes certain edges easier to inspect. Choose according to the visual job, then avoid asking the generation to replace a complicated setting while also preserving every object.
Make identifying details readable before generation
Open the photo at a useful viewing size. Can you distinguish a ring support from its reflection? Can you follow each shirt stripe through the visible seam? A large file may still contain motion blur, heavy compression or missed focus in the exact place you need.
The left jewelry panel has a display blur applied for this illustration. The right shows the supplied source without that blur. This is a visibility comparison, not a claim that an AI enhancement recovered detail. The best images for image to video begin with information you can actually see.
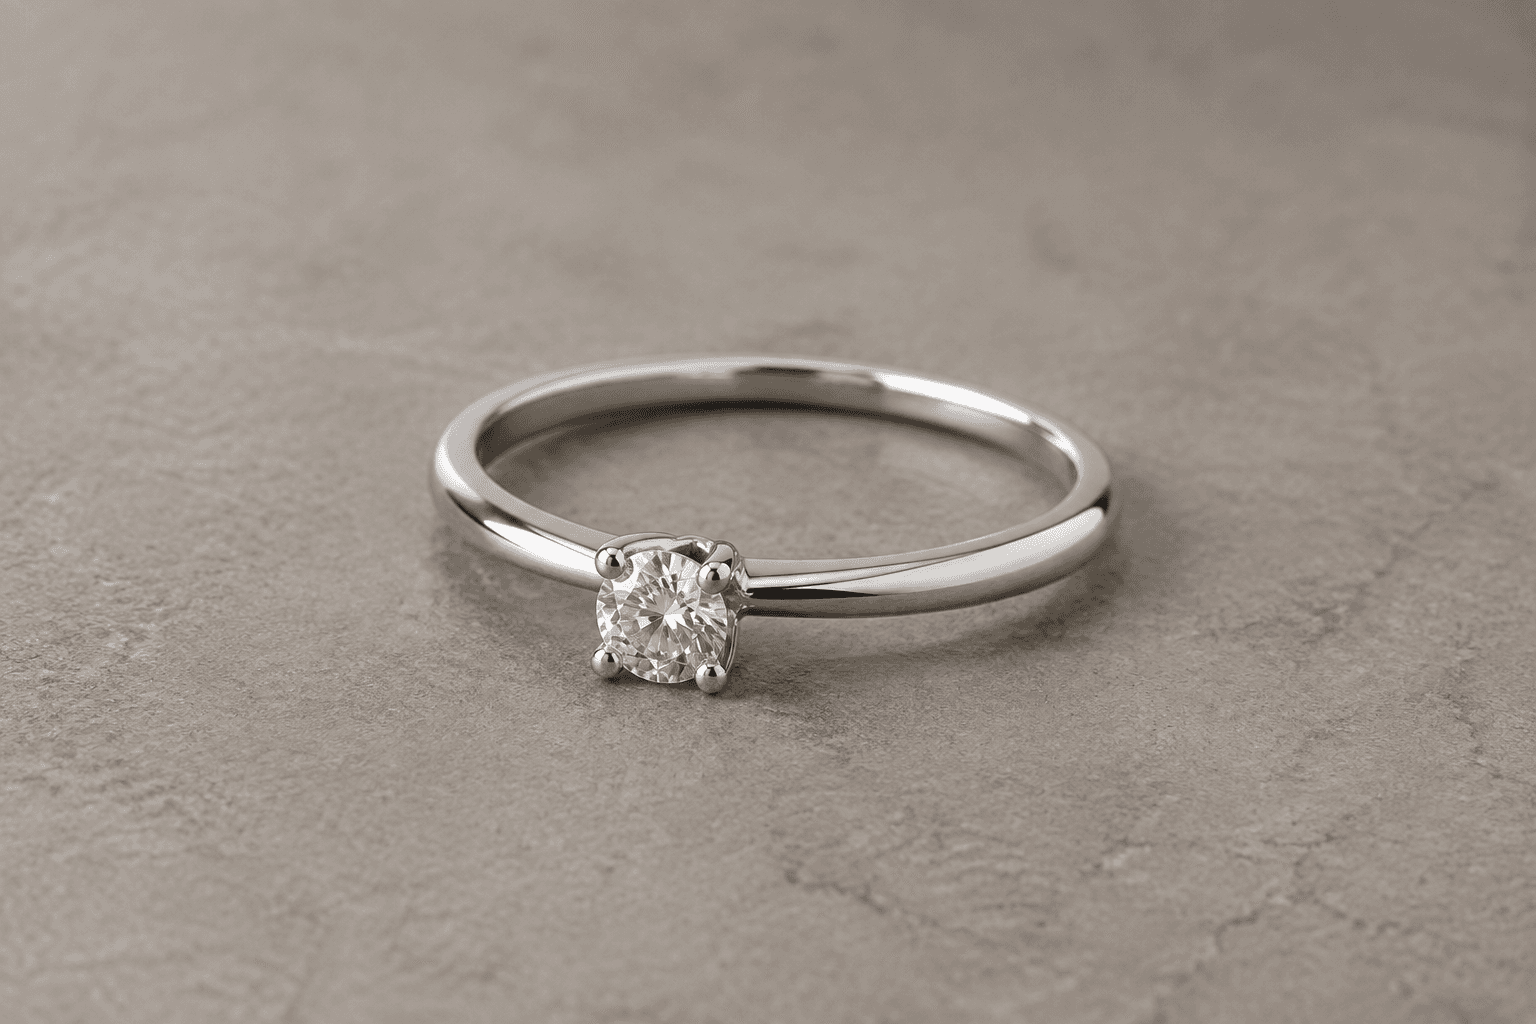
Packaging deserves the same care. If text is important, photograph the label with enough focus and size to read it. Even a readable source can produce changed letters, so keep the source and review the video frame by frame where those letters matter.
Do not ask the model to rewrite an unreadable ingredient list. Supply another photograph or add verified copy later in an editor. A suitable source reduces missing information; it does not turn the generator into a document transcription tool.
Prepare the frame shape you intend to use
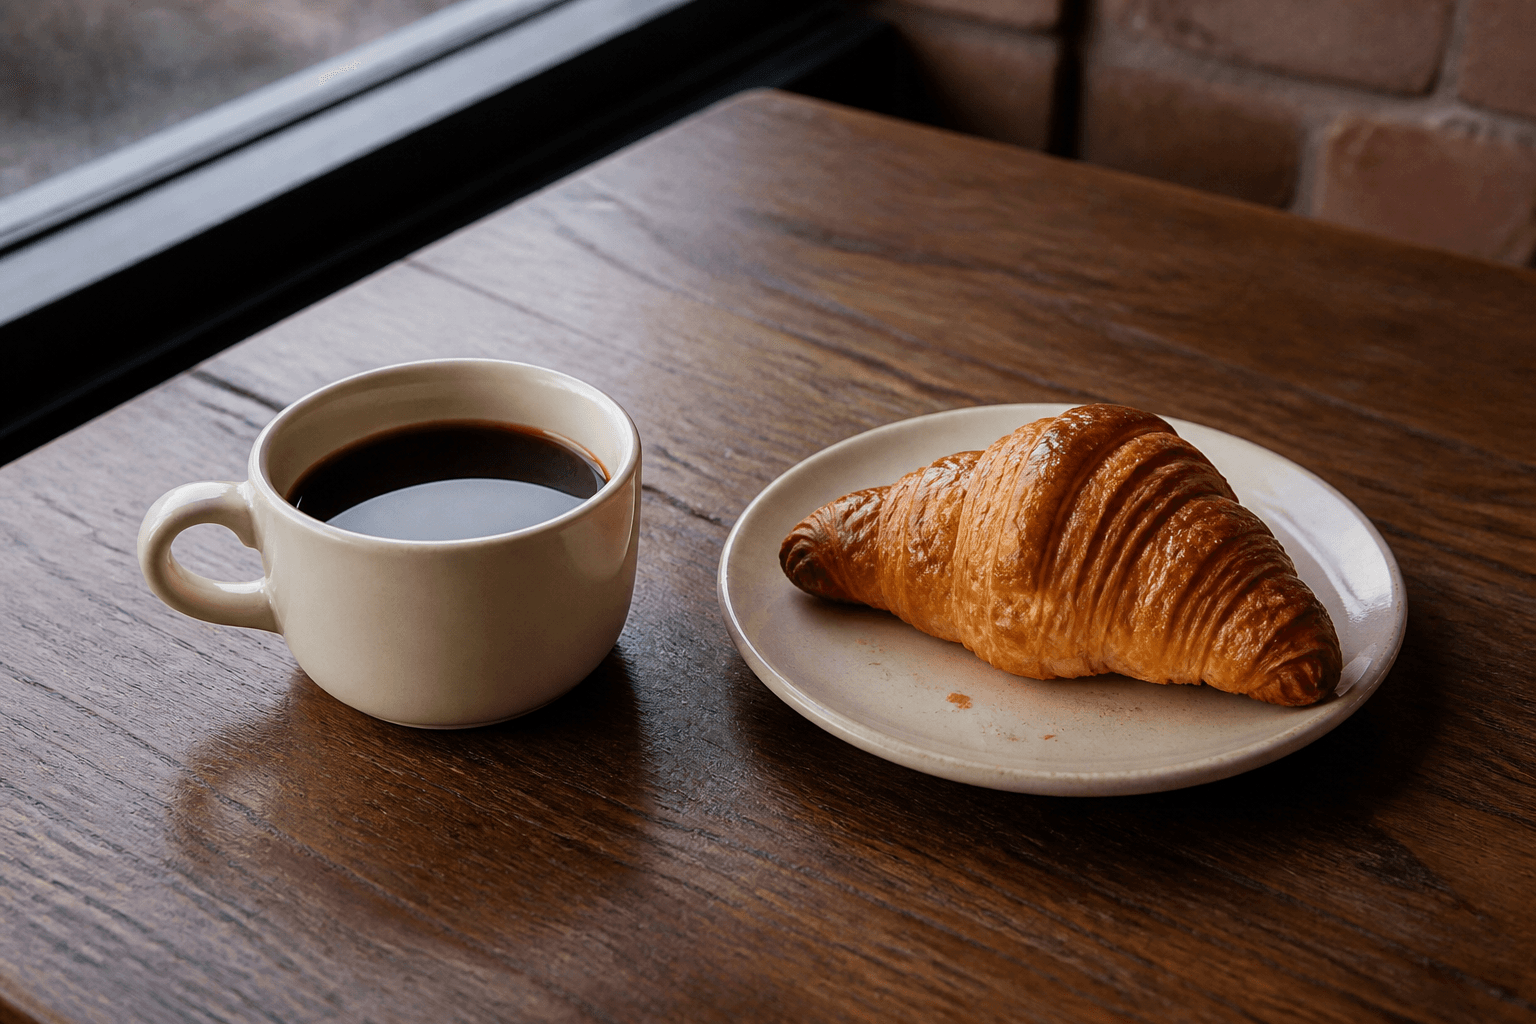
Image to Video and Product Agent follow the starting image's ratio. There is no separate output-ratio selector for these modes. Decide whether a wide source will serve the destination before uploading it.
This pair shows a centered vertical crop beside the full wide image. Both use the same photo and are composition illustrations. A narrow crop can remove useful surroundings or parts of a product; reposition or rephotograph the subject if the crop does not hold what you need.
Starting image
Generated clip
What makes the best images for image to video?
The mug trial uses a small approach from a known view. Asking for a complete spin would require the unseen rear. Asking a closed box to unfold would require hidden mechanisms. Match the request to the visible evidence even after choosing the best images for image to video.
The generated image may still change. Watch at normal speed for unstable movement, then pause at the beginning, middle and end to compare important parts. Keep an unacceptable trial as a reference so you can identify the specific issue in a later attempt.
Upload a file the generator can read
H3 Max accepts JPEG, PNG and WebP images up to 20 MB. Check the actual file format and size; renaming an unsupported file extension does not convert the image. After upload, inspect the preview to confirm that orientation and composition are correct.
Check the exported copy, not just the editor preview
If you crop or resize a source before upload, open the saved file once outside the editing view. Confirm that it contains the intended crop, with the product upright and the important edges present. An editor can display a working composition that differs from the file you exported.
Check small features in that saved copy. Compression may soften fine lettering or introduce visible blocks near high-contrast edges. Repeatedly saving an already compressed photo cannot restore lost information. Return to the clearest available original when you need a new crop.
For a series of product clips, give the prepared files descriptive names so you can match each input to its output. Keep the uncropped original alongside them. If a later request needs more room beside a handle or around a sleeve, that original gives you a chance to prepare another composition without inventing the missing edge.
Finally, check the selected thumbnail in the generator against the file you intended to use. Similar product photos can differ in color, packaging revision or a small fitting. A technically valid upload can still be the wrong product view, and a motion prompt will not resolve that selection error.
Is a transparent background always preferable?
No. Choose a background that explains the intended scene. If you need a product standing on a surface, a photograph with credible contact and shadow may be more useful than a cutout. Review the uploaded preview rather than assuming transparency will produce a particular setting.
What should I do with my prepared image?
Open Image to Video for manual motion direction, or Product Agent for automatically prepared product direction. Choose 5–15 seconds and 480P or 768P after checking the source.
The Runway image prompting guide likewise cautions that source flaws can carry into motion. If your input passes these checks but the result changes important details, continue with the generation troubleshooting workflow.