
Framing guide · Width, height and source images
AI Video Aspect Ratios: Choose Your Frame
Choose AI video aspect ratios before generating. Text to Video offers six frame shapes. Image to Video and Product Agent follow your starting image, so the composition you upload determines the shape of those clips.
One mug seen through six frames
Aspect ratio describes width relative to height. A 16:9 frame is wider than it is tall; 9:16 reverses that relationship. The ratio says nothing by itself about how many pixels the file contains, how long the clip lasts or how much detail survives generation.
These six shapes are shown as centered crops of the same source image. They are composition diagrams, not six generated outputs and not an image-editing tool. Compare the handle and the space around the mug before judging which shape suits the shot.
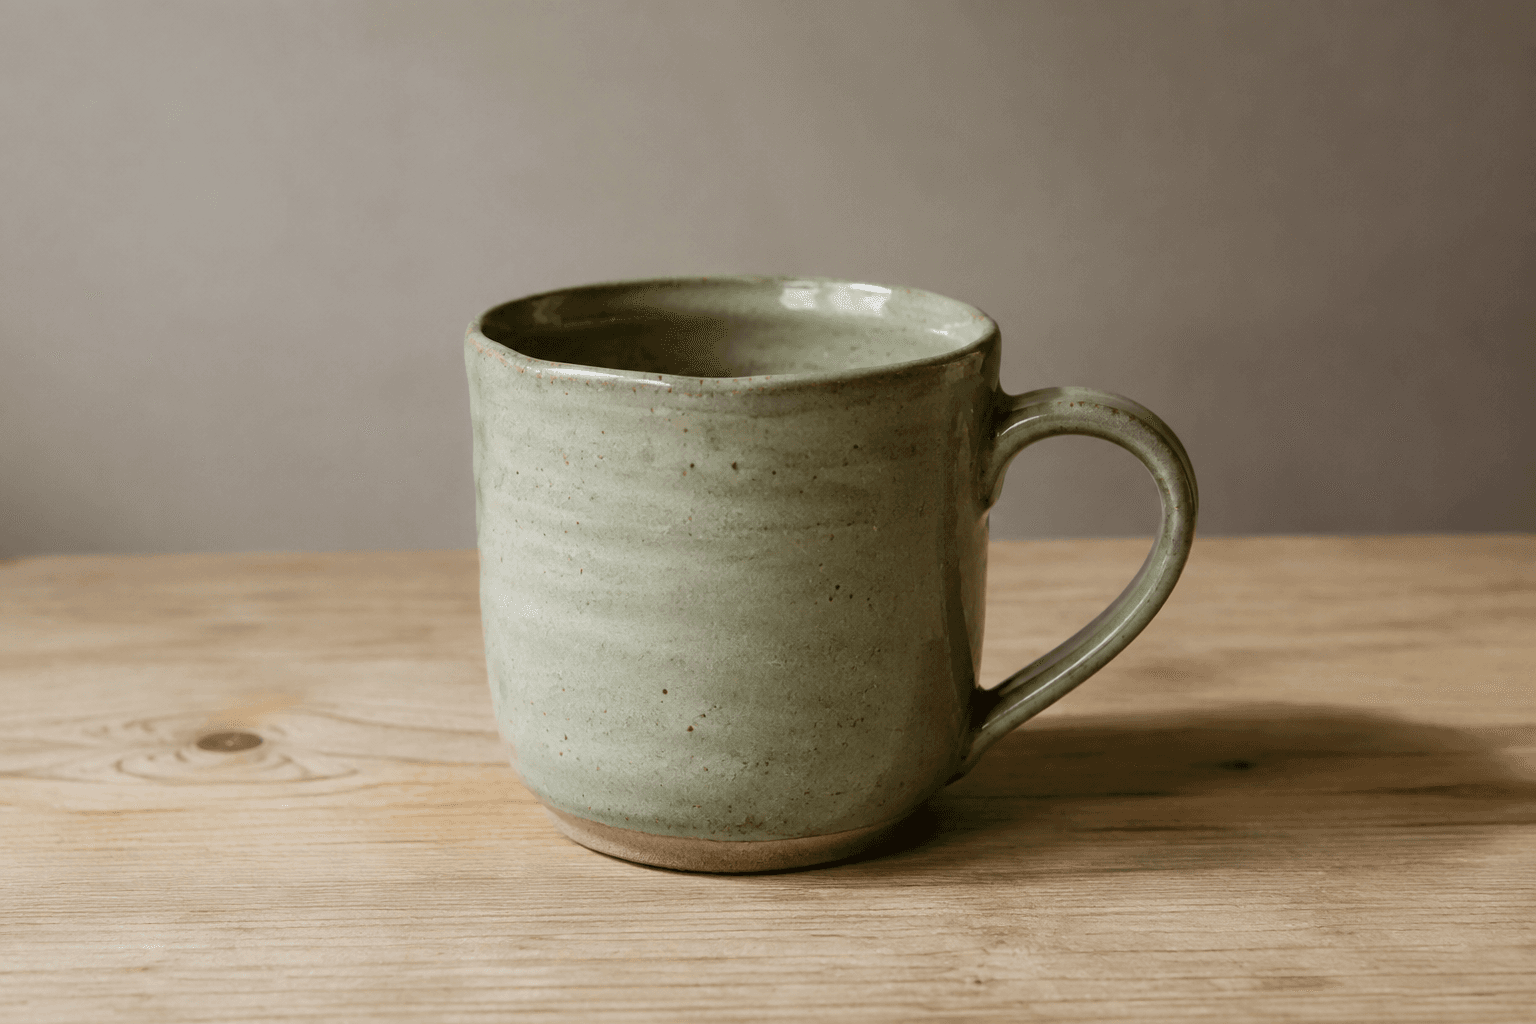
A centered crop is only one option. You may need to reposition the subject within a prepared image or take another photograph. If the mug's handle disappears, adding “keep the handle” to a motion prompt does not restore the information removed from the input.
Choose AI video aspect ratios around the important visible parts, then check the destination. A tall composition can give a bottle breathing room above its cap while cutting off a wide accessory beside it. The shape serves the content only if the content remains understandable.
Set the ratio in Text to Video
Text mode creates the scene from a written brief. You can select 21:9, 16:9, 4:3, 1:1, 3:4 or 9:16 in the generator. Make that choice before submitting the request and write a scene that fits the available space.
For a wide desk, the notebook and pencil can sit beside each other with the window suggesting a light source. For a vertical desk view, the arrangement has less horizontal room. Describe the important objects directly rather than expecting a ratio change to preserve every placement from a previous generation.
AI video aspect ratios are an explicit setting in this mode. A word such as “vertical” in the prompt can reinforce composition, but you should still inspect the selected ratio. The control determines the requested format; the prose describes what appears within it.
Open Text to Video and choose a frame. A selection prepares your request; you still review the prompt and start generation yourself.
Where AI video aspect ratios come from in Image and Product modes
An uploaded image supplies the opening composition, including its width-to-height relationship. Image to Video and Product Agent inherit that shape. Neither mode has an independent ratio selector that turns a landscape photo into a portrait clip.
If you need a portrait result, prepare a portrait starting image first. The image preparation guide shows how to inspect cropping and edges. Think through AI video aspect ratios at that stage, while you can still choose another photograph.
| Mode | Where shape comes from | Before generating |
|---|---|---|
| Text to Video | One of six selected ratios | Choose the frame and describe a matching composition |
| Image to Video | The uploaded starting image | Prepare the photo at the intended ratio and write its motion |
| Product Agent | The product starting image | Check the whole product inside the uploaded frame |
Starting-image inheritance does not mean a pixel-for-pixel copy of the original dimensions. Video generation produces integer pixel sizes, and the output can approximate the nominal ratio. Keep the original composition sensible and inspect the downloaded file's dimensions before delivery.
If you prepare several source crops, name each file with its intended shape and compare their previews before submitting. A wide original and a portrait crop can look similar in a small upload thumbnail. Check the handle, cap or other feature nearest the boundary to confirm that the selected version matches your plan.
For separate placements, generate or edit a suitable version for each destination. Reusing one composition everywhere can force a later crop that removes the visual detail the shot was meant to show.
Read the exported width and height
The desk trials demonstrate two actual output shapes at the 768P setting. The wide file is 1344 × 768 pixels. The vertical file is 768 × 1344 pixels. Those dimensions are close to the requested wide and tall formats without being exact 16:9 and 9:16 fractions.
These are separate generated scenes, so visual differences also reflect separate interpretations of the prompts. Use them to understand the file shape. Do not treat them as a before-and-after conversion or assume that switching AI video aspect ratios preserves an existing clip.
Resolution labels and AI video aspect ratios answer different questions. The 480P or 768P selection is a generation setting; the ratio is the frame's shape. A square 768P clip and a tall 768P clip can have different total pixel counts. Consult the resolution and credit comparison for measured examples.
Check the frame where it will actually appear
A video can fit its file dimensions and still lose important content in a publishing preview. The destination may crop a cover, fit the clip inside a container or place interface controls over the picture. Inspect the placement you will actually use.
Keep identifying product details away from vulnerable edges when you can. Leave space for captions you add later, then watch the entire clip to see whether motion enters that space. Avoid borrowing a single safe-zone diagram and assuming it covers every placement or interface.
For example, TikTok's current In-Feed ad specifications discuss vertical framing and safe areas that vary with format and accompanying content. That is destination guidance, not a guarantee that any clip with a tall shape is ready for submission.
Can I change a generated video's ratio here?
H3 Max does not provide a video conversion or reframing editor. Choose AI video aspect ratios before Text-mode generation, prepare a differently framed image for Image or Product mode, or edit a downloaded result in a separate video editor.
Which ratio is best for every platform?
There is no single answer that preserves every composition in every placement. Start from your required destination and the subject's shape. Check the current publishing requirements, generate a suitable short clip, then preview the actual upload before publishing.
To continue with a prepared photo, open Image to Video or Product Agent. Review the uploaded preview before choosing the duration and resolution.