
Product Agent · Single video · Optional end frame
First and Last Frame Video for Product Showcases
A first and last frame video uses a starting product image and an optional ending image to guide a generated clip. In H3 Max, this option is available only in Product Agent's Single mode. It is not available in ordinary Image to Video or Batch mode.
See the two inputs before the result
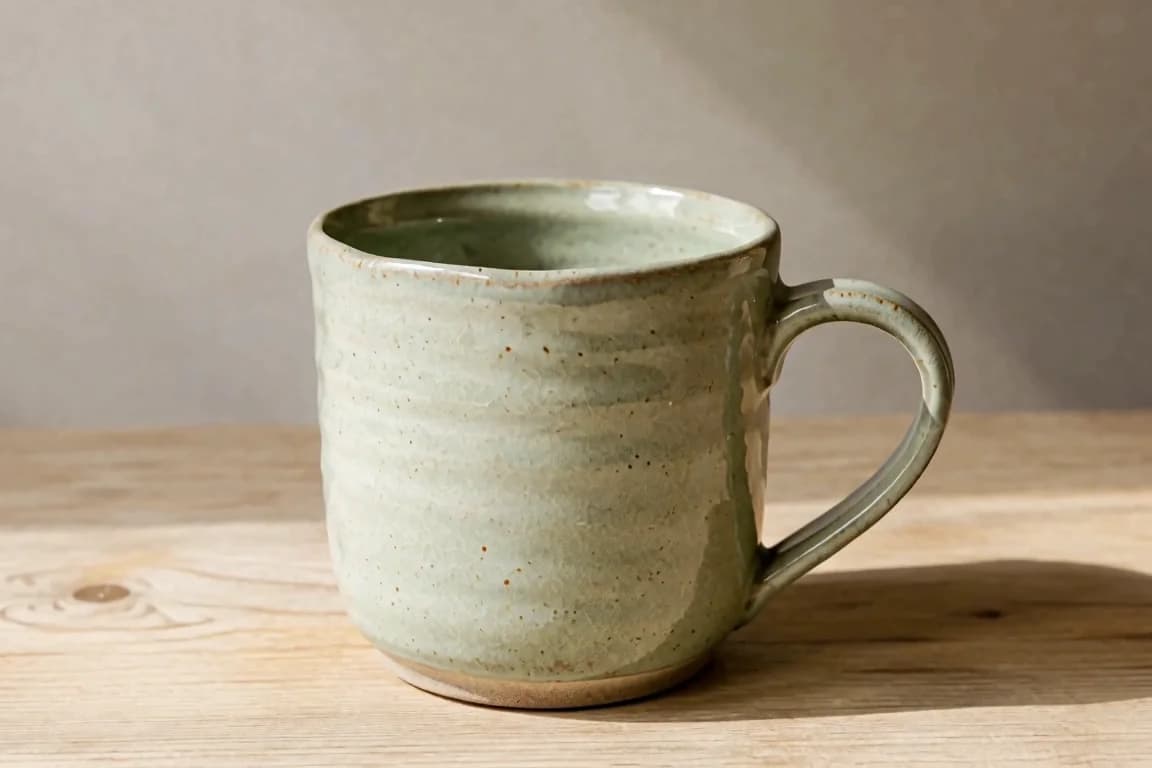
This mug example starts with the full product source. Its ending image was extracted from the final frame of an earlier Product Agent mug clip. That makes the origin of both images clear: the second is generated imagery, not an independently photographed view of a physical item.
The new request used both images at five seconds and 768P. Compare the handle position, rim, surface detail and amount of surrounding table before playing the result. Those visible relationships explain what the first and last frame video is being asked to connect.
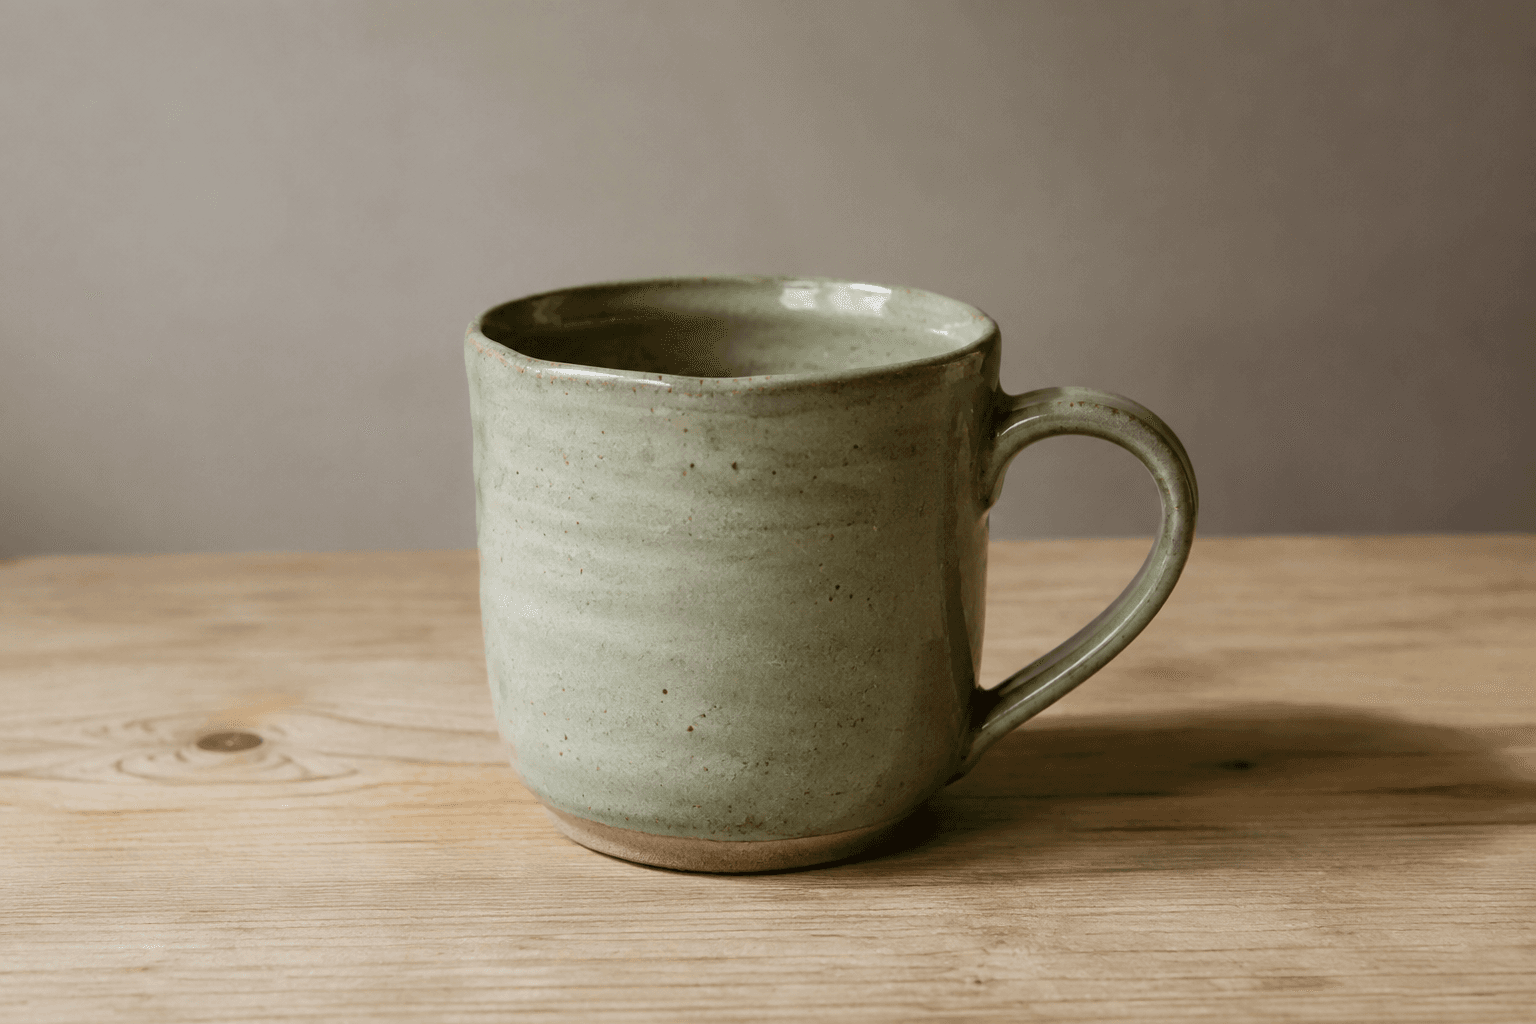
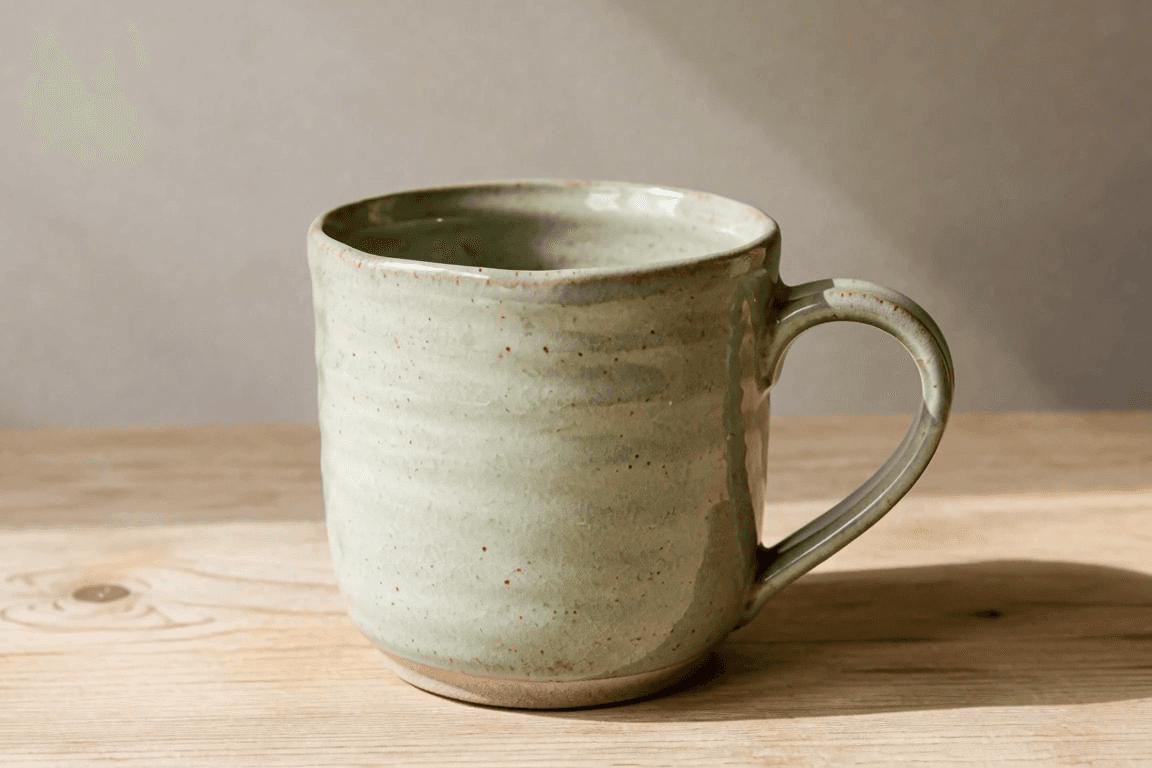
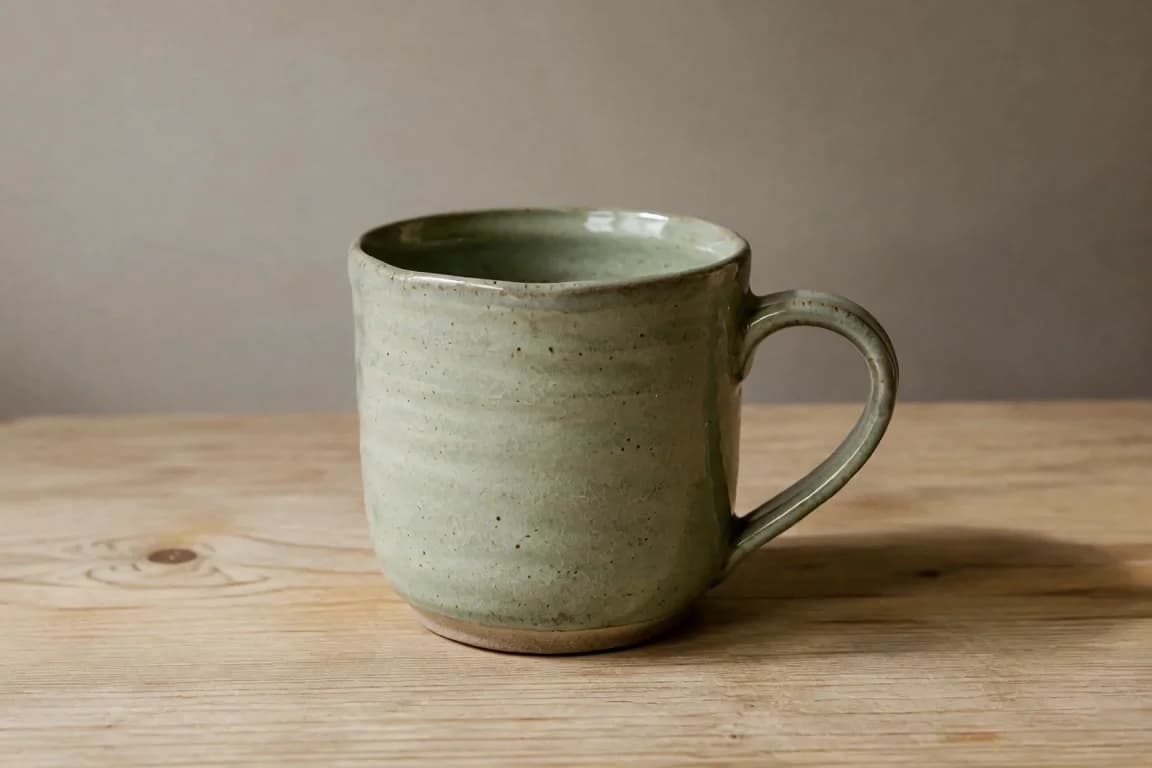
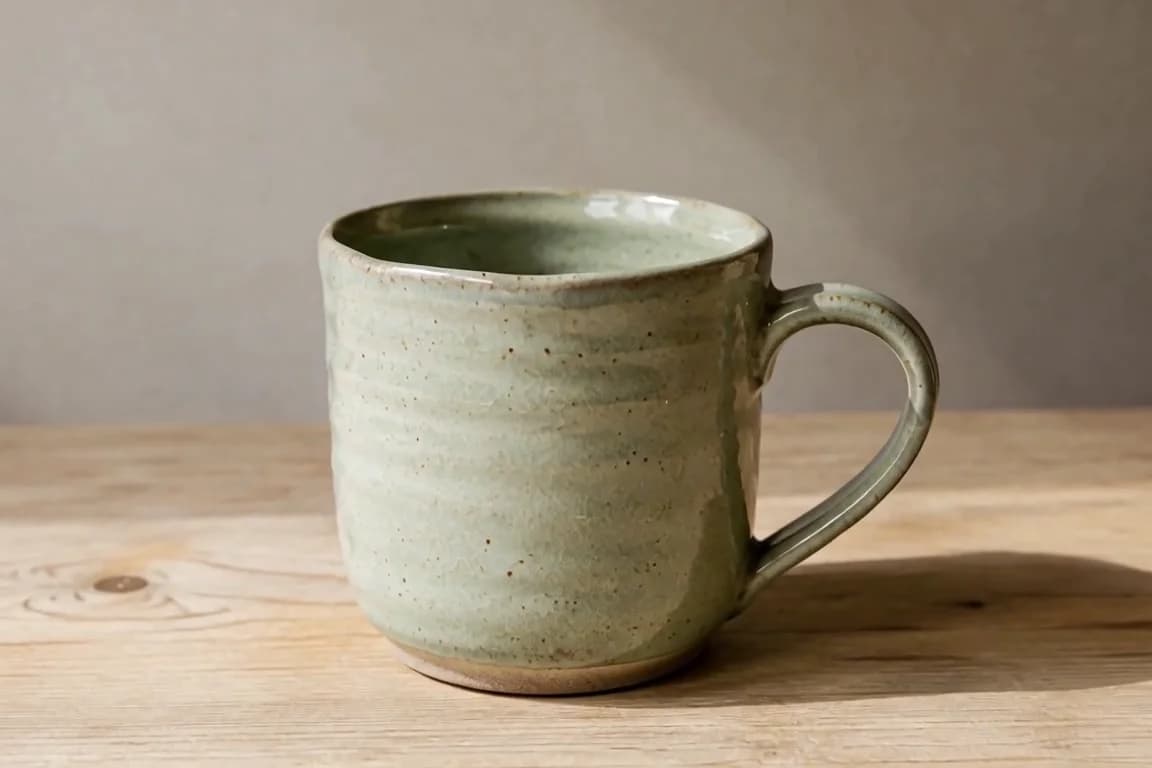
These stills come from the new output above. The mug fills more of the frame as the camera approaches, while the handle stays on the right. By the ending, the closer framing and brighter table resemble the supplied ending image. The wood grain and shadow edge are not pixel-identical to that input.
The middle sample shows the change in scale between the endpoints. Three stills make that progression easier to compare, but they do not establish continuity in every intervening frame. Play the clip to inspect the handle and rim through the complete movement.
Two compatible inputs give the model an opening and a destination. The movement between them remains generated. A plausible-looking transition does not establish that every intermediate surface, shadow or reflection matches a real object.
Using an earlier output frame is one way to test an ending composition, but it can carry that output's errors into the next request. Compare it with your actual product before using it as a reference. Do not assume that an extracted frame becomes more accurate when reused.
Choose an ending the opening can reasonably reach
For a first and last frame video, keep product identity clear across both images. The item should have the same shape, material, visible features and color. A different cap, changed handle or replaced label asks the model to connect inconsistent versions.
Then inspect the viewpoint. A small approach from a similar angle gives the model less hidden structure to infer than a jump from the front to the rear. If the rear view matters, supply an accurate image of it and inspect the generated transition carefully; two views still do not describe every surface between them.
The background also contributes to continuity. If the product moves from a wooden table to a different room, the model must account for the setting change as well as the object. For an initial trial, keep the setting and light direction closely related so the endpoint is the main question.
Find the option in Single Product Agent
Open Product Agent with the optional end-frame section open. Stay in Single mode, upload the starting product image and add the ending image under Advanced options. Review both previews before starting the task.
- Choose the starting image that establishes the product and opening frame.
- Add the compatible ending image in the optional end-frame control.
- Select a duration from 5 to 15 seconds and either 480P or 768P.
- Check the previews, displayed cost and Single-mode selection.
- Start generation, then download and compare the result with both inputs.
You do not need to write a custom prompt for this first and last frame video workflow. Product Agent prepares its own direction. If you need to handwrite movement in Image to Video, that mode accepts custom text but does not accept an ending image.
The starting image determines the output's general frame shape. Prepare a compatible ending composition rather than expecting its dimensions to become a separate ratio setting. Generated integer pixel sizes can approximate the nominal source ratio, so inspect the downloaded width and height as well.
Review the whole first and last frame video
First watch at normal speed. Does the movement settle toward a useful finish, or does it feel rushed near the end? Then pause the final frame beside the supplied ending image. Compare the product's size in the picture, its angle and its position relative to the background.
The middle of the clip needs a review too. The final view can look acceptable while the handle, label or silhouette changes earlier in the clip. Scrub through the transition and inspect the parts that identify your product.
| Moment | Compare with | Inspection points |
|---|---|---|
| Opening | Starting image | Product identity, initial framing and surface contact |
| Transition | Both inputs and the actual product | Shape continuity, plausible motion and unsupported surfaces |
| Ending | Supplied ending image | Finishing angle, scale, position and visible detail |
The supplied ending guides generation; it is not a promise of pixel-for-pixel reproduction. If exact alignment is essential to your edit, judge the downloaded result against that requirement. Do not describe a near match as exact because the overall scene looks similar.
Keep the two inputs and the output together when recording your trial. If the next attempt uses a different ending, you need those files to know which composition changed. Separate generations can also vary without any input change.
Check the last useful moment at normal playback speed as well as the final still. A clip that arrives at the target only at the instant playback stops may give your editor little time to use that composition. If the ending needs to hold for a title or a cut, confirm that the downloaded result provides a usable interval.
Also inspect anything placed behind or beside the product. A matching mug position can distract from a shifted tabletop line or an unexpected background object. Accepting the final composition means checking the whole visible frame, not only the central silhouette.
If the transition asks for too much
Begin with the first point where continuity becomes unacceptable. If the object changes during a large turn, try a closer ending angle. If it slides across the table while changing size, choose an ending with a more consistent position and scale.
Change one input relationship at a time while keeping duration and resolution stable. This gives you a clearer comparison, although randomness means one successful trial does not prove that the adjustment always solves the issue. The distortion guide explains how to record that uncertainty.
A shorter gap between compositions can be a useful way to simplify a first and last frame video. It does not guarantee an accurate transition. If the requested movement reveals a functional mechanism or unseen internal parts, real footage may be the appropriate source.
Can Batch mode use a separate ending for each product?
No. Optional end frames are available for Single Product Agent generation. Batch mode generates separate clips from product starting images and does not offer a per-item ending-image control.
Does using matching endpoints create a seamless loop?
No. Matching or similar images do not guarantee matching motion, lighting or frame content at the join. Inspect the ending-to-opening cut in an editor if you need a loop. This feature guides a generated endpoint rather than creating a guaranteed seamless repeat.
Is this an existing-video frame extractor?
No. This first and last frame video workflow generates a new product clip from supplied images. The extracted example image above was prepared separately; H3 Max does not provide an extraction editor on this page.
For broader context, Google Cloud's first-and-last-frame documentation describes a related generation approach. Follow the H3 Max mode limits and input controls shown here rather than assuming that another platform's options are available.
Once your two images agree on the product and finishing composition, prepare a Single Product Agent request with an end frame. Review the displayed credit cost before submitting the new generation.