
Animate the clothing photograph you already have
Clothing Product Video Maker
The clothing product video maker creates a short showcase from a flat-lay, hanging, or existing worn photograph. Work with the visible fabric and silhouette, then inspect the result. H3 Max does not provide virtual try-on or automatically put a flat garment onto a model.
Create a clothing showcaseStart with the way the garment was photographed
A T-shirt lying on a table, a jacket on a hanger, and a shirt already worn by a person give different information. Choose the source according to the view you need to show. A flat-lay can make a print readable; a worn photograph shows the garment in that photographed pose.
Keep that distinction when planning movement. Asking a flat T-shirt to rise and fit a person introduces a body and a new drape that the image does not document. The clothing product video maker should stay close to the existing presentation when product accuracy matters.
| Source | A useful visual task | What remains unproven |
|---|---|---|
| Flat-lay | A small camera approach toward the visible print, neckline, or seam | How the garment fits or falls on a person |
| On a hanger | A view of the front silhouette, collar, and existing folds | Movement during wear or the fit of a different size |
| Already worn | A restrained view of the photographed pose and garment | Accurate new poses, body fit, or an automatic change of outfit |
Starting image
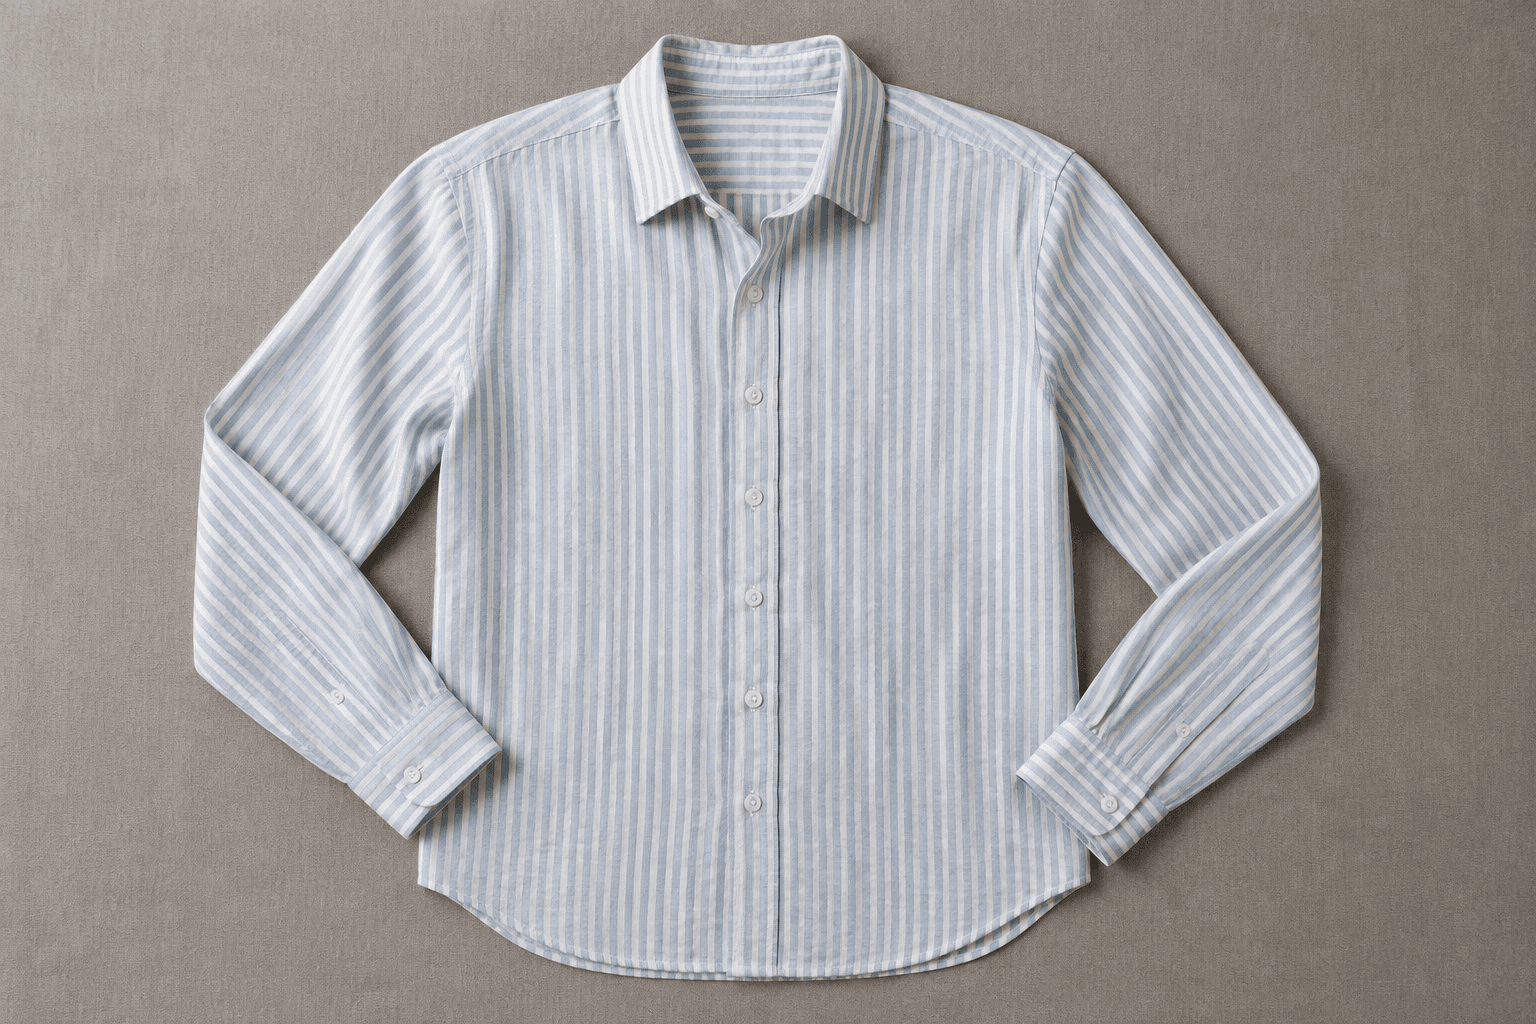
Generated clip
Follow the seams before asking the fabric to move
A seam connects parts of the garment. Check where the shoulder seam meets the sleeve, where a side seam reaches the hem, and whether the neckline keeps its shape. These lines give you a practical reference when the image begins to move.
Then look at the folds. A fold can shift the apparent pattern without the cloth itself changing design. Pause through the result and compare the print where it crosses a seam or a fold. If the pattern changes independently of the fabric, it no longer represents the photographed garment.
The clothing product video maker can create motion around a still image, but it cannot verify fabric weight or stretch. A generated flutter should not become evidence that a jacket is lightweight, a shirt breathes well, or a knit stretches by a particular amount.
Prepare the pattern so you can check it later
Use a source where the print is sharp enough to recognize at the intended framing. For stripes, note their direction and spacing. For checks, look at intersections near a pocket or placket. These reference points are more useful than a general impression that the garment looks similar.
Keep small printed lettering separate from the main motion task. If the buyer needs to read a phrase on a shirt, include an accurate still in the gallery or final edit. Enlarging a changed letter in a higher-resolution export will not make it the original letter again.
Before using the clothing product video maker, check that the photo belongs to the correct color, size presentation, and product version. A hanging sample and a worn sample can have different styling. Keep those distinctions visible in your asset names so another editor does not mix them into a misleading sequence.
Crop for a product gallery or a vertical post
Product Agent and Image to Video follow the source image ratio. Prepare a square, wide, or vertical photograph before generation according to where the footage will be used. Leave the complete hem and sleeve ends in view when the silhouette is the subject.
A vertical crop can help a hanging coat fill the frame, but it can also remove the sleeves. Review that crop as a still first. If the destination needs empty space for a caption, reserve it around the garment instead of placing text over the seam you want the customer to inspect.
A wide product photo does not automatically supply every social format. Use the aspect ratio guide to separate input shape from later cropping in an editor.
Create a clothing showcase
The video aspect ratio follows your image.
Advanced options · Optional end frame
Sign up for 40 free credits—enough for a 5-second video at 768P.
Use the clothing product video maker for one view at a time
Upload the prepared garment image in Product Agent / Single. The product workflow prepares its own prompt. Select 5–15 seconds and 480P or 768P, then check the displayed credit amount before generating. Begin with the shortest duration that gives the selected view a useful place in your edit.
For a specific camera or fabric instruction, use Image to Video. Describe one movement around what the photo already shows. Product Agent does not offer a hand-written prompt field, and neither mode turns a product photo into a verified try-on.
After generation, watch the whole garment at normal speed, then inspect the most vulnerable area. On a jacket that may be the button row; on a printed T-shirt it may be the lettering. Save the selected download beside its source photograph for a more reliable later comparison.
Review a detail without losing the whole garment
The clothing product video maker may keep a close detail plausible while changing the outline elsewhere. Review the full frame before focusing on a sleeve or pattern. Check that the garment has not become narrower, longer, or differently proportioned during the move.
Fasteners and pockets
Count the visible buttons and follow their spacing down the placket. Check zipper lines and pocket edges where they meet folds. A missing fastener can be difficult to notice during playback if the camera is also moving.
Prints at a cut point
Inspect the first and last frames you plan to use in the edit. A changed check pattern near the end is still part of the delivered garment if it remains in the export. Trim or regenerate the candidate when the usable portion no longer answers the intended question.
Color beside the listing image
Compare the clip with an accurate product photograph under the same viewing conditions. A new warm light can make a neutral shirt appear cream. Avoid accepting a color change just because it suits the mood of the Reel.
Starting image
Generated clip
Place the accepted view where it answers a question
For a store, keep size information and still detail photographs available beside the clip. The Shopify media workflow covers attaching the reviewed file and checking the actual theme.
For a Reel, compare the clip with the next photograph before adding text or music. Use the Reels sequence guide when the garment is part of a related shoot. The clothing product video maker supplies the individual footage; editing and publishing remain external.